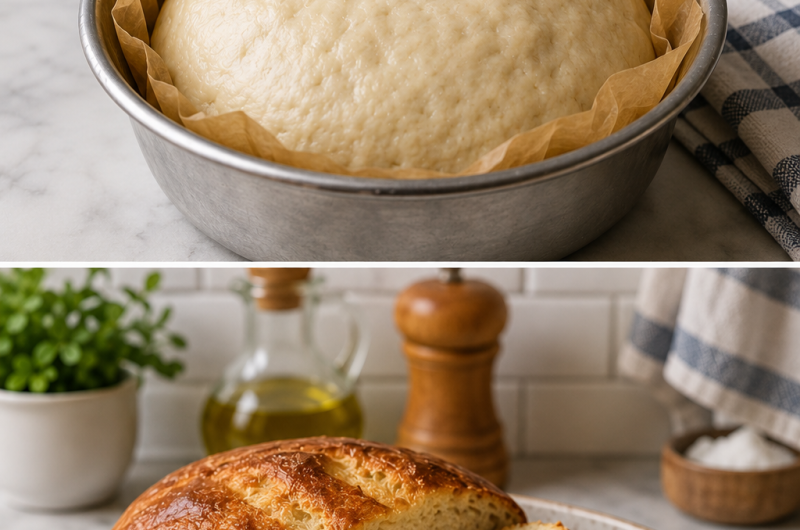
Finding a homemade bread that works well for a low-carb lifestyle can be tricky, especially when the goal is to get something that feels closer to traditional bread. This keto loaf has a soft texture, light crumb, and mild flavor. It works nicely for breakfast toast, sandwiches, or as a simple side with soup and salad.
The recipe uses almond flour, a small amount of coconut flour, baking powder, butter, egg whites, and sea salt. Optional sweetener, xanthan gum, and cream of tartar can also be used as listed in the original recipe. The ingredients are simple, but the preparation method is important because the whipped egg whites are what help give this bread its lighter texture.
What Makes This Bread Different?
- A lot of low-carb breads can turn out heavy or crumbly. This one uses finely ground almond flour as the main flour and a smaller amount of coconut flour to help with structure and moisture. The combination gives the loaf a softer balance without relying on wheat flour.
- The other important part is the egg whites. Instead of mixing them directly into the flour mixture, they are whipped until stiff peaks form and then carefully folded into the batter. This creates air pockets throughout the mixture, helping the finished bread stay lighter.
- The finished loaf is firm enough for sandwiches but tender enough to eat on its own. Its mild flavor also makes it easy to pair with both sweet and savory toppings.
Ingredients and Their Purpose
- Almond Flour
- Almond flour provides the main base for the bread. Finely ground blanched almond flour gives the smoothest texture. Almond meal can be coarser, so the recipe specifically calls for finely milled almond flour for a better crumb.
- Coconut Flour
- Only a quarter cup is used, so it doesn’t overpower the loaf. Coconut flour absorbs moisture and helps strengthen the bread while keeping the texture from becoming too heavy
- Baking Powder
- Baking powder provides additional lift during baking. Using fresh baking powder helps the loaf rise and contributes to the lighter texture.
- Unsalted Butter
- Melted butter adds richness and moisture. It also helps create a tender crumb. The original recipe notes that coconut oil can be used in the same amount for a dairy-free version.
- Egg Whites
- Egg whites are one of the most important parts of the recipe. They provide structure and help the bread rise. Whipping them properly is what gives this loaf much of its airy quality.
- Sea Salt
- A small amount of sea salt balances the flavor and keeps the bread from tasting flat.
Optional Ingredients
- The recipe also includes three optional ingredients.
- A tablespoon of keto-friendly sweetener can give the loaf a more balanced, neutral flavor without making it noticeably sweet. Xanthan gum can improve the chewiness and help the slices hold together. Cream of tartar can be added when whipping the egg whites because it helps stabilize them.
- These ingredients are not essential to the basic loaf, but each has a particular purpose.
Equipment to Have Ready
- Before beginning, it helps to have the equipment prepared. The recipe uses a food processor, large mixing bowl, hand mixer or stand mixer, rubber spatula, loaf pan, parchment paper, measuring cups and spoons, and a cooling rack.
- Having everything nearby is especially helpful once the egg whites are whipped. The batter should be handled gently and transferred to the pan without unnecessary waiting.
Preparing the Oven and Pan
- The oven should be preheated to 325°F (163°C) before the batter is mixed.
- The loaf pan is lined with parchment paper, leaving some extra paper over the sides. This creates convenient handles for lifting the finished bread from the pan later.
- This preparation may seem minor, but it makes the baking process much smoother.
Mixing the Dry Ingredients
- The almond flour, coconut flour, baking powder, sea salt, and optional sweetener and xanthan gum go into the food processor.
- I pulse the mixture several times so everything is evenly distributed. Then I add the melted butter and pulse again. The mixture should become somewhat crumbly rather than turning into a smooth dough.
- There is no need to process it for a long time. The goal at this stage is simply to combine the ingredients.
Whipping the Egg Whites
- This is the step that deserves the most attention.
- The egg whites should be at room temperature. They are placed in a clean mixing bowl with cream of tartar if it is being used. Using a hand mixer or stand mixer, the whites are beaten until stiff peaks form.
- When the beaters are lifted, the peaks should remain upright instead of falling over. Properly whipped egg whites should also stay in place when the bowl is carefully tilted.
- It is worth taking the time to reach this stage because the volume of the egg whites contributes directly to the lightness of the finished bread.
Bringing the Mixtures Together
- The whipped egg whites should not all be added to the flour mixture at once.
- I gently fold about half of the egg whites into the food processor mixture first. The mixture only needs a few pulses to combine. It does not need to become completely smooth.
- The purpose of this first addition is to loosen the heavier mixture before combining it with the remaining egg whites.
Folding Without Losing the Air
- The loosened mixture is transferred into the bowl with the remaining egg whites.
- Using a rubber spatula, I gently lift the mixture from underneath and fold it over the top. I continue until the batter is combined and there are no obvious white streaks.
- The important thing here is to fold rather than stir. Aggressive mixing can knock out the air that was created during whipping.
- A gentle hand at this stage makes a noticeable difference in the final texture.
Filling the Loaf Pan
- Once the batter is ready, it goes directly into the prepared loaf pan.
- I smooth the top with the spatula and gently move the batter toward the center. This helps encourage a rounded top as the loaf rises during baking.
- The pan should be ready before the batter is finished so there is no unnecessary delay.
Baking in Two Stages
- The bread is baked in two stages.
- First, it goes into the 325°F (163°C) oven uncovered for approximately 40 minutes. Once the top has become golden brown, the loaf is loosely covered with aluminum foil.
- The bread then continues baking for another 30 to 45 minutes.
- Covering the top keeps it from becoming too dark while allowing the center enough time to finish baking.
Checking for Doneness
This bread is better checked by texture and temperature than by relying only on a toothpick.
- I gently press the center of the loaf. When it is fully baked, the center should feel firm rather than soft or squishy.
- For a more precise check, the internal temperature should reach 200°F (93°C).
- Once it is baked, the bread should rest in the pan for several minutes before being transferred to a cooling rack.
Why Cooling Matters
- It can be tempting to slice homemade bread while it is still warm, but this loaf needs time to finish setting.
- The inside continues to firm as it cools. Cutting it too early can affect the texture and make the center seem softer than it should be. For the cleanest slices, I let the loaf cool completely before cutting it.
- This is especially important when the bread will be used for sandwiches.
Common Baking Mistakes
- Underbaking the Loaf
- One of the biggest problems is taking the bread out before the center is fully cooked. This can leave the middle wet or cause the loaf to collapse.
- Overmixing the Egg Whites
- The whipped whites contain the air needed for a lighter loaf. Stirring or mixing too aggressively can remove that volume.
- Using Cold Egg Whites
- Room-temperature egg whites whip more easily and can produce better volume than cold whites.
- Changing the Flour Amounts
- The balance between almond flour and coconut flour is important. Adding extra flour can change the texture and make the finished bread dry.
Serving the Bread
- Once completely cooled, the loaf can be sliced and served in many ways.
- It can be toasted with butter, topped with nut butter or mashed avocado, or used to make grilled cheese. It also works well with turkey, lettuce, and mayonnaise, or alongside chicken salad and egg salad.
- For a simple meal, it can be served next to warm soup or a fresh green salad. The recipe also lists French toast, olive oil, and chimichurri as serving options.
- Because the flavor is mild, the bread works with a wide range of toppings.
Storing the Loaf
- The bread should be cooled completely before storage.
- Once cooled, it can be kept in an airtight container in the refrigerator for up to one week. Chilling helps this type of keto bread keep its texture better.
- I prefer slicing only what is needed rather than cutting the entire loaf into slices immediately.
Freezing Individual Slices
- For longer storage, individual slices can be frozen.
- Parchment paper can be placed between the slices before they are put into a freezer-safe bag. This keeps the pieces from sticking together and makes it easy to remove only the amount needed. The bread can be frozen for up to 6 months.
Reheating
- The toaster is an easy way to refresh refrigerated or frozen slices. It warms the center while lightly crisping the outside.
- Slices can also be warmed in the oven for a few minutes until heated through.
Simple Questions About the Recipe
- Can Butter Be Replaced?
- Yes. The recipe states that the butter can be replaced with the same amount of melted coconut oil for a dairy-free version.
- Why Might the Bread Sink?
- The source explains that sinking can happen when the bread is underbaked or when too much air is lost from the egg whites during mixing.
- Can Xanthan Gum Be Left Out?
- Yes. The loaf can still be made without it, although the texture may be slightly less chewy.
- Is the Sweetener Necessary?
- No. It is optional and is mainly used to balance the flavor rather than make the bread sweet.
- Is It Good for Sandwiches?
- Yes. The finished slices are sturdy enough for sandwich fillings while maintaining a soft texture.
- Can It Be Toasted?
- Yes. Toasting gives the bread a lightly crisp exterior and enhances its texture.
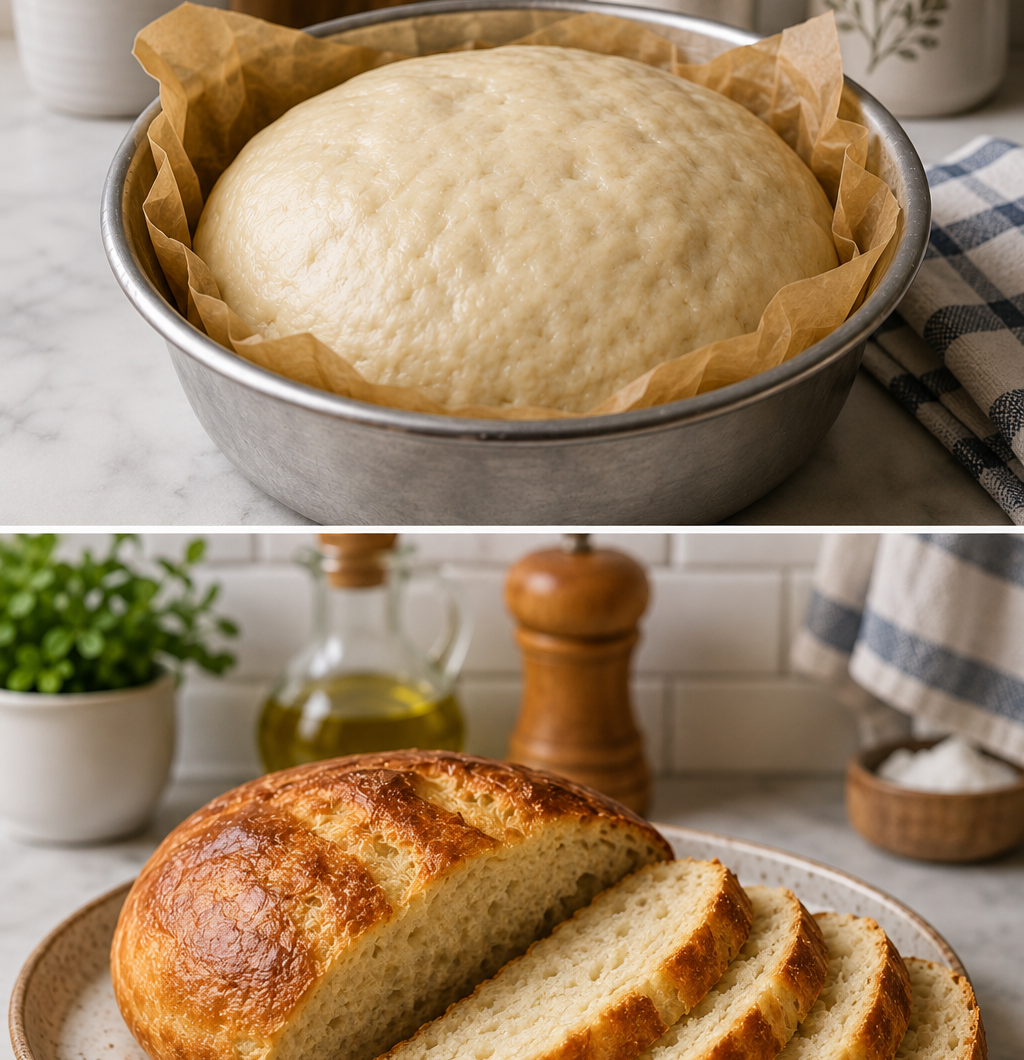
Homemade Keto Bread
A soft, light, low-carb and gluten-free homemade bread made with almond flour, coconut flour, butter, and whipped egg whites. It works well for toast, sandwiches, soups, salads, and other everyday meals.
4
servings10
minutes59
minutes82
kcal1
hour9
minutesIngredients
1 cup blanched almond flour
1/4 cup coconut flour
2 tsp baking powder
1/4 tsp sea salt
1/3 cup unsalted butter, melted
12 large egg whites, about 1 1/2 cups, at room temperature
Directions
- Preheat the oven to 325°F (163°C) and line a loaf pan with parchment paper.
- Add almond flour, coconut flour, baking powder, sea salt, and optional sweetener and xanthan gum to a food processor. Pulse to combine.
- Add melted butter and pulse until the mixture becomes crumbly.
- Beat the egg whites with cream of tartar, if using, until stiff peaks form.
- Gently fold half of the whipped egg whites into the flour mixture.
- Transfer the mixture into the remaining egg whites and gently fold until combined.
- Place the batter into the prepared loaf pan and smooth the top.
- Bake uncovered for 40 minutes.
- Loosely cover with aluminum foil and continue baking for 30–45 minutes, until firm and the internal temperature reaches 200°F (93°C).
- Let the bread cool completely before removing it from the pan and slicing.
Notes
- Use room-temperature egg whites for better volume.
- Fold the egg whites gently to keep the batter light.
- Do not overmix after whipping the egg whites.
- Cool the loaf completely before slicing.
- Store in the refrigerator for up to 1 week.
- Individual slices can be frozen for up to 6 months.
Nutrition Facts
- Total number of serves: 4
- Calories: 82kcal
- Carbohydrates: 1g
- Fiber: 2g
- Sugar: 1g
- Protein: 4g