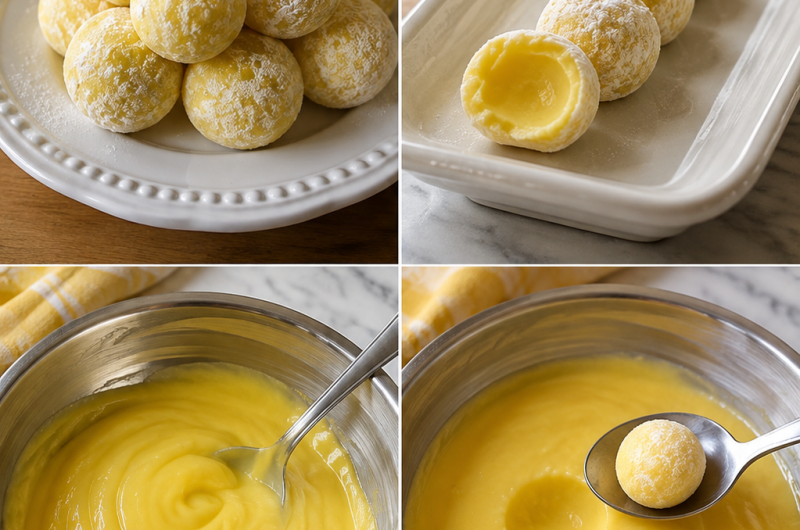
Lemon truffles are one of those desserts that look much more complicated than they actually are. They have a smooth, creamy center, a sweet white chocolate base, and a bright lemon flavor that keeps the sweetness from becoming too heavy. The best part is that there is no baking involved, so there is no need to prepare an oven, wait for a cake to rise, or worry about getting a perfectly baked dessert.
The recipe starts with white chocolate, heavy whipping cream, and butter. These ingredients create the rich and creamy foundation. Fresh lemon juice and finely grated lemon zest then bring in the citrus flavor. Vanilla adds a soft background note, while a small pinch of sea salt helps balance the sweetness.
Once the mixture is prepared, it simply needs time in the refrigerator to become firm. After that, it can be shaped into small balls and coated with powdered sugar. The finished truffles are delicate, creamy, and especially enjoyable when served cold.
What Makes Lemon Truffles Different?
- Traditional chocolate truffles often use dark or milk chocolate, giving them a deep and rich flavor. These lemon truffles have a lighter character because white chocolate provides a mild, milky base. The fresh lemon cuts through that richness with a sharp and refreshing taste.
- The combination works because neither flavor completely takes over. The white chocolate gives the truffles their creamy body, while lemon keeps every bite bright. The result is a dessert that feels rich without tasting quite as heavy as many chocolate-based sweets.
- Fresh lemon zest is particularly important here. Grating the yellow outer skin of the lemon releases its fragrant citrus oils. It adds a stronger lemon aroma and gives the truffles little flecks of zest throughout the mixture.
Ingredients and Their Purpose
- White Chocolate
- The recipe calls for 24 ounces of high quality white chocolate chips or chopped baking bars. This is the main ingredient and forms the base of the truffle mixture.
- If using baking bars, chopping them into small, even pieces helps them melt more smoothly when the hot cream is added. Using good-quality white chocolate also makes a noticeable difference in the final texture.
- Heavy Whipping Cream
- One-half cup of heavy whipping cream gives the mixture its soft and creamy consistency. The cream is heated before being combined with the chocolate.
- It is important not to let the cream reach a full boil. Heating it until small bubbles appear around the edges is enough for this recipe.
- Unsalted Butter
- One-fourth cup of softened unsalted butter adds richness and helps create the smooth texture expected from a truffle.
- Allowing the butter to soften at room temperature makes it easier to combine with the cream while it heats.
- Fresh Lemon Juice and Zest
- The recipe uses two tablespoons of freshly squeezed lemon juice and two tablespoons of finely grated lemon zest. These two ingredients provide the main lemon flavor.
- When zesting the lemons, use only the yellow outer layer. The white pith underneath can be bitter, so it should not be included.
- Vanilla and Sea Salt
- One teaspoon of pure vanilla extract adds a gentle aroma that works well with both the white chocolate and lemon.
- A pinch of fine sea salt may seem small, but it helps balance the sweetness and allows the other flavors to stand out.
- Powdered Sugar
- The truffles are finished with one-half cup of powdered sugar. This gives the outside a soft, snowy appearance and keeps the finished pieces from sticking together as easily.
- Yellow Food Coloring
- Yellow food coloring is optional. If used, only a tiny amount is needed to give the truffles a brighter appearance.
Preparing the White Chocolate
- Start by placing the white chocolate chips or chopped baking bars into a large glass bowl. If using a bar, chop it into small pieces first.
- This small step matters because large pieces take longer to melt. Smaller pieces allow the heat from the cream to spread through the chocolate more evenly.
- There is no need to melt the chocolate separately at this stage. Keep it in the bowl while preparing the cream mixture.
Heating the Cream and Butter
- Place a small saucepan over medium heat. Add the heavy whipping cream and softened butter.
- Stir the mixture regularly as it warms. Continue until the butter has completely melted and the cream begins to develop tiny bubbles around the edges.
- Avoid bringing the cream to a rolling boil. The goal is simply to get it hot enough to melt the white chocolate smoothly.
Bringing Everything Together
- Pour the hot cream and butter mixture directly over the prepared white chocolate.
- At this point, resist the urge to stir immediately. Let the hot mixture sit over the chocolate for about five minutes. This gives the heat enough time to soften the chocolate thoroughly.
- After five minutes, use a whisk or spatula to begin stirring gently. Start in the center and gradually work outward.
- As the chocolate melts, the mixture will become smoother and glossier. Continue mixing until there are no obvious pieces of chocolate remaining.
- The finished mixture should have a smooth ganache-like appearance.
Adding the Lemon Flavor
- Once the chocolate mixture is smooth, add the freshly squeezed lemon juice, finely grated lemon zest, vanilla extract, and pinch of sea salt.
- If using yellow food coloring, add a tiny amount at this stage.
- Stir everything together until the lemon zest is evenly distributed and the mixture has a consistent appearance.
- This is where the character of the truffles really comes together. The creamy white chocolate base is balanced by the tartness of the lemon, while vanilla rounds out the flavor.
Chilling the Mixture
- Cover the bowl with plastic wrap. Make sure the plastic wrap touches the surface of the chocolate mixture. This helps prevent a skin from forming.
- Place the bowl in the refrigerator for at least four hours. It can also be left overnight.
- Do not rush this stage. The mixture needs to become firm enough to handle. If it is still soft, rolling it into balls will be difficult and messy.
- A proper chilling time gives the truffles their shape and makes the rolling process much easier.
Shaping the Truffles
- Once the mixture is cold and firm, prepare a clean work surface.
- Use a small spoon or cookie scoop to portion out approximately one tablespoon of the mixture at a time.
- Quickly roll each portion between your palms until it forms a smooth ball.
- The mixture can soften from the warmth of your hands. If it becomes too sticky, simply return it to the refrigerator for about ten minutes before continuing.
- There is no need to make every truffle perfectly identical. Small differences in shape give homemade truffles a natural appearance.
Coating With Powdered Sugar
- Place the powdered sugar in a bowl and roll each finished lemon truffle through it.
- Make sure the entire surface is covered. The powdered sugar creates a simple white coating that looks clean and elegant.
- After coating, place the truffles on a tray lined with parchment paper.
- Keep them chilled until serving.
How to Get the Best Texture
- Texture is one of the most enjoyable parts of these truffles. When chilled, the outside is firm enough to hold its shape while the inside remains creamy.
- The key is not to skip the refrigeration period. Four hours is the minimum recommended time, while chilling overnight gives the mixture plenty of time to become firm.
- It is also helpful to work fairly quickly while shaping the truffles. Warm hands can soften the chocolate mixture, especially if the kitchen is warm.
- If the mixture becomes difficult to handle, there is no need to add anything extra. A short return to the refrigerator is enough to firm it up.
Choosing the Right White Chocolate
- The original recipe recommends using the best white chocolate you can afford. A good option is white chocolate that lists cocoa butter as a main ingredient rather than relying heavily on palm oil.
- Quality matters because the white chocolate is the foundation of the entire dessert. Better chocolate generally melts more evenly and gives the finished truffles a smoother mouthfeel.
- Since there are only a handful of main ingredients, each one has an important role.
Serving Lemon Truffles
- These truffles can be served straight from the refrigerator. Their cool temperature works particularly well with the fresh lemon flavor.
- They can be arranged on a dessert plate for a gathering or simply kept chilled for an easy sweet treat.
- The powdered sugar coating gives them a finished appearance without requiring a complicated decoration.
- For a stronger citrus appearance, the source also suggests mixing extra lemon zest with the sugar before coating the truffles.
Simple Variations
- The basic recipe can be kept exactly as written, but the source also mentions a few optional ideas for changing the finish.
- To add a tropical element, toasted shredded coconut can be used in place of powdered sugar as a coating.
- Another suggested idea is placing a small piece of dried cranberry or a tiny amount of almond in the center. This adds a different texture to the soft filling.
- Lime juice and lime zest can also be used for a different citrus variation.
- These ideas are optional, so the original lemon version remains the simplest way to prepare the recipe.
Storing the Truffles
- Because these truffles contain cream and butter, they should be kept chilled.
- The source notes that a larger batch can be kept in the freezer for weeks, making them convenient to have ready when needed.
- When serving, keeping them cold helps preserve their shape and creamy texture.
What to Expect From Each Bite
- The first flavor is sweet and creamy from the white chocolate. The lemon then comes through with a bright, tangy finish.
- The texture is soft and rich rather than firm like a chocolate bar. The powdered sugar provides a delicate coating on the outside while the center remains smooth.
- That balance is what makes lemon truffles appealing: they have the richness of a candy-style dessert but the refreshing character of fresh citrus.
A Dessert That Needs No Oven
- One of the biggest advantages of this recipe is how simple the preparation is.
- There is no dough, no baking temperature, and no complicated decorating technique. The main steps are heating the cream and butter, combining them with the chocolate, adding the flavorings, chilling, rolling, and coating.
- The refrigerator does most of the work after the mixture is prepared.
- For a homemade dessert, the result is surprisingly polished. The finished truffles can look special enough for a celebration while still being simple enough to prepare without advanced candy-making skills.
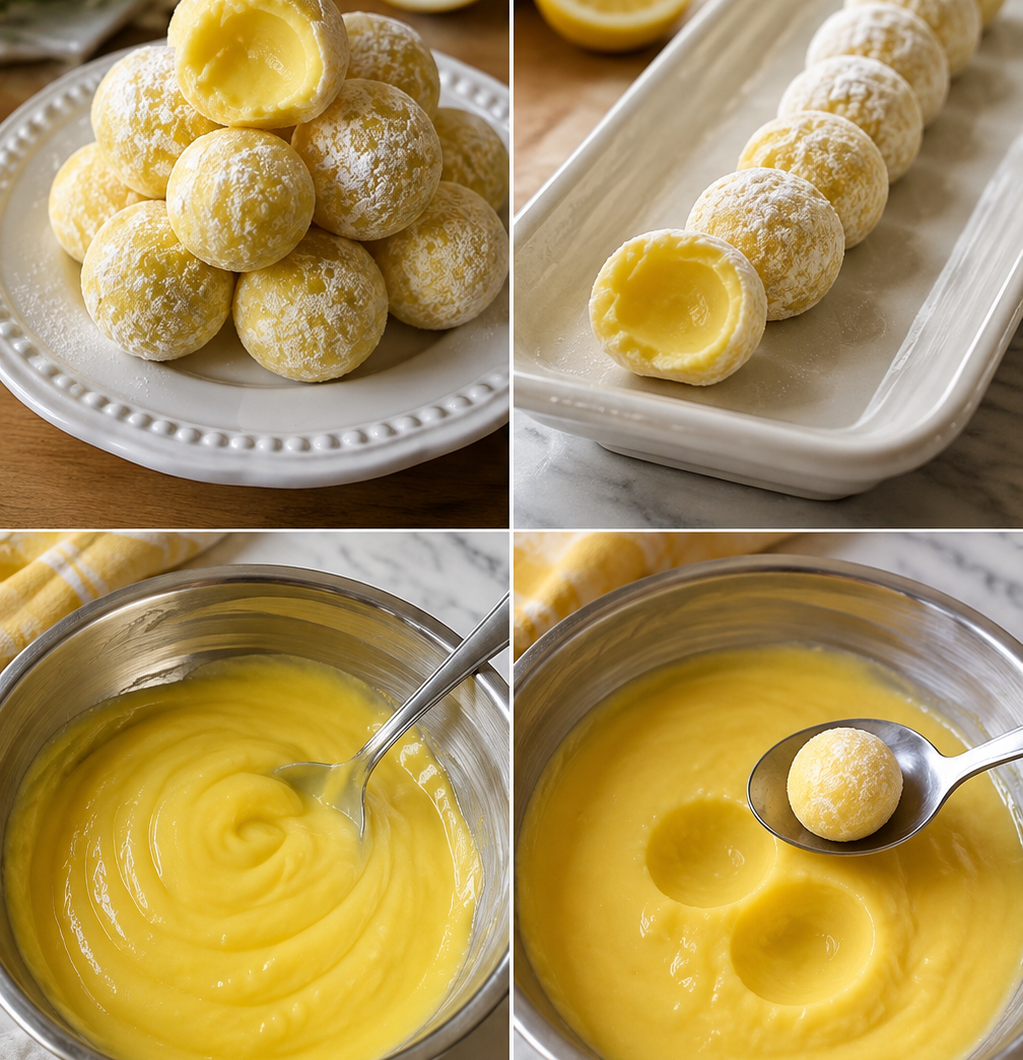
Healthy Homemade Lemon Truffles
Creamy homemade lemon truffles made with white chocolate, fresh lemon juice, lemon zest, cream, and butter, then finished with a simple powdered sugar coating.
24
servings20
minutes40
minutes120
kcal1
hourIngredients
24 ounces high quality white chocolate chips or chopped baking bars
1/2 cup heavy whipping cream
1/4 cup unsalted butter, softened
2 tablespoons freshly squeezed lemon juice
2 tablespoons finely grated lemon zest, with no white pith
1 teaspoon pure vanilla extract
1/2 cup powdered sugar, for coating
1 pinch fine sea salt
Optional yellow food coloring
Directions
- Place the white chocolate chips or finely chopped baking bars in a large glass bowl.
- Add the heavy whipping cream and softened butter to a small saucepan over medium heat.
- Stir until the butter melts and tiny bubbles begin forming around the edges of the cream. Do not bring it to a full boil.
- Pour the hot cream mixture over the white chocolate.
- Let it sit for about 5 minutes without stirring.
- Whisk or gently stir from the center outward until the chocolate is completely smooth and glossy.
- Add lemon juice, lemon zest, vanilla extract, and sea salt. Add a tiny amount of yellow food coloring if desired.
- Stir until everything is evenly combined.
- Cover the bowl with plastic wrap, pressing it directly against the surface of the mixture.
- Refrigerate for at least 4 hours or overnight.
- Scoop about 1 tablespoon of the chilled mixture at a time and quickly roll it between your palms into a ball.
- If the mixture becomes too soft or sticky, refrigerate it again for about 10 minutes.
- Roll each truffle in powdered sugar until completely coated.
- Place the finished truffles on a parchment-lined tray and keep refrigerated until ready to serve.
Notes
- Use fresh lemons and grate only the yellow outer zest.
- Good-quality white chocolate gives the truffles a smoother texture.
- Do not boil the cream.
- Chill the mixture thoroughly before rolling.
- Keep the finished truffles cold for the best texture.
- Optional variations mentioned in the source include toasted shredded coconut, dried cranberry, almond, or lime
Nutrition Facts
- Total number of serves: 24
- Calories: 120kcal
- Fat: 8g
- Saturated Fat: 5g
- Cholesterol: 15mg
- Sodium: 7mg
- Carbohydrates: 12g
- Fiber: 0g
- Sugar: 11g
- Protein: 1g