The Ultimate Guide to Homemade Mason Jar Butter
I used to grab whatever butter was on sale at the grocery store, assuming it was all fairly similar. That changed the first time I tried making it myself. There is a tangible difference in the texture and the clean, fresh taste that you just don’t get from mass-produced blocks. Plus, it turns out that making it is a simple, straightforward process that happens right in a mason jar.
What You’ll Need
- Heavy Cream: The better the quality, the better the result.
- Salt: Optional, but a pinch of sea or kosher salt helps bring out the natural flavor.
- Mason Jar: A sturdy jar with a tight, leak-proof lid is the only equipment you really need.
The Process
- Fill the Jar: Pour your heavy cream into the jar until it’s about halfway full—you need to leave enough room for the cream to move.
- The Shake: Seal the lid tightly and start shaking. This takes a bit of stamina. You’ll hear it slosh at first, then it will get quiet as it turns to whipped cream. Keep going. Eventually, you’ll hear a “thud” as a solid lump separates from the liquid (buttermilk).
- Strain and Rinse: Pour off the buttermilk (save it for baking!). Rinse the butter under cold water, pressing it with a spoon or your hands to get the last of the liquid out. This helps the butter stay fresh longer.
- Finish: If you’re adding salt or herbs, fold them in now.
Storing and Using
Keep your butter in an airtight container or wrapped in parchment paper. It will stay fresh in the refrigerator for about two weeks.
Why I Keep Doing It
- Purity: I know exactly what’s in it. No additives or stabilizers—just cream and maybe a little salt.
- Versatility: It’s easy to customize. I love experimenting with fresh herbs, lemon zest, or even honey for a slightly sweet spread.
- Less Waste: It’s a great way to use up heavy cream before it expires.
- The Buttermilk: Having fresh buttermilk on hand for pancakes or marinades is a nice bonus.
Frequently Asked Questions
What should I do with the liquid?
That is fresh buttermilk. Don’t throw it out—it works perfectly in biscuits, smoothies, or any recipe that calls for a tangy liquid base.
Can I use a different container?
As long as it has a secure lid and is durable enough to withstand the shaking, it will work.
How do I know it’s ready?
You won’t just see the separation; you’ll hear it. The sound changes from a liquid slosh to a heavy thud, and you’ll see the buttermilk pull away from the solid butter mass.
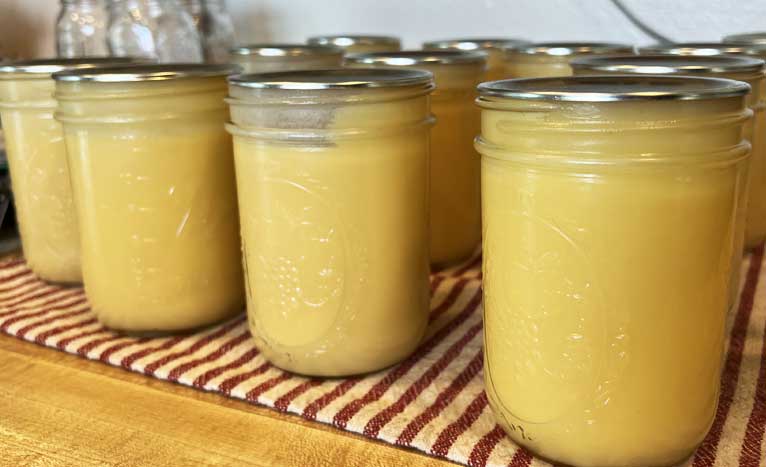
Canning Butter At Home A Detailed Guide
Enjoy fresh, creamy homemade butter with just two simple ingredients! Perfect for spreading on toast, cooking, or baking.
1
servings2
minutesIngredients
1 cup 1 heavy cream
Pinch salt (optional, for salted butter)
1 1 mason jar with lid
Directions
- Fill the Jar: Pour heavy cream into a mason jar, filling it halfway.
- Add Salt (optional): Add a pinch of salt for flavor.
- Shake! 🏋️♂️: Secure the lid tightly and shake vigorously for 10-15 minutes. The sound will change from sloshing to a thudding as butter forms.
- Separate the Buttermilk: Once the butter clumps together, pour out the buttermilk into a separate bowl (save it for pancakes or biscuits!).
- Shape & Rinse: Use your hands or a spatula to form a butter ball. Rinse under cold water until the water runs clear.
- Store & Enjoy: Keep in an airtight container in the fridge for up to 2 weeks.