If you have been missing crispy, cheesy chicken parmesan since starting a low carb lifestyle, this keto version brings back everything you love about the classic dish without the heavy breading or added carbs. This recipe delivers a satisfying crunch on the outside, melted cheese on top, and tender chicken underneath, all made in a single pan for easy cleanup. It works well for a simple family dinner or a meal you can prepare ahead of time, and it tastes just as comforting as the traditional version most people grew up eating.
Why This Version Works So Well for Low Carb Eating
Traditional chicken parmesan usually relies on breadcrumbs and flour to create that signature crispy coating, which unfortunately adds a significant amount of carbohydrates to the dish. This recipe solves that problem by swapping out traditional breading for a clever combination of crushed pork rinds, protein powder, and parmesan cheese, creating a crispy texture without the carbs typically found in breadcrumbs. The result is a dish that still delivers that familiar crunch while keeping net carbs low enough to fit comfortably into a ketogenic or low carb eating plan.
The Benefit of Cooking Everything in One Pan
One of the most practical aspects of this recipe is that it moves from stovetop to oven using the same pan, which cuts down significantly on cleanup afterward. Searing the chicken first creates a nice golden crust on the outside, and then transferring that same pan directly into the oven allows the cheese to melt and turn slightly golden without needing to dirty a separate baking dish. This one pan approach makes the recipe feel more approachable, especially on busy weeknights when minimal cleanup is just as important as flavor.
Why Brining the Chicken Makes a Difference
Taking the time to brine the chicken breasts in warm water and sea salt before cooking is a step that genuinely improves the final texture of the dish. This process helps the chicken retain moisture during cooking, which is especially important since chicken breasts can easily turn dry and tough if overcooked. Allowing the chicken to sit in the salt water brine for at least ten to twenty minutes, or up to an hour if you have extra time, results in juicier, more tender chicken once it hits the pan.
Pounding the Chicken for Even Cooking
After brining, patting the chicken dry and pounding it to an even thickness using a flat meat mallet is an important step that should not be skipped. Chicken breasts often vary in thickness from one end to the other, which can lead to uneven cooking if left as is. Pounding the chicken down to about half an inch thick ensures that every part of the breast cooks at the same rate, so you avoid ending up with a dry, overcooked thin end while the thicker section remains undercooked.
Understanding the Three Bowl Breading Station
Setting up a proper breading station before you start cooking makes the entire process move much more smoothly once you begin coating the chicken. The first bowl holds plain protein powder, which acts as a light dusting to help the egg mixture stick to the chicken. The second bowl contains beaten eggs, which serves as the sticky layer needed for the final crispy coating to properly adhere. The third bowl combines crushed pork rinds, grated parmesan cheese, Italian seasoning, and the remaining protein powder, forming the flavorful, crunchy exterior that gives this dish its signature texture.
Why Protein Powder Plays a Surprising Role Here
Using protein powder in place of traditional flour might seem unusual at first, but it serves an important purpose in this keto-friendly breading method. Protein powder helps create a light coating that allows the egg to stick properly to the chicken, while also contributing to the overall crispiness once the breading crisps up during cooking. Because it is low in carbohydrates compared to flour, it fits naturally into this recipe without compromising the low carb nature of the dish.
The Role Pork Rinds Play in Creating Crunch
Crushed pork rinds essentially replace traditional breadcrumbs in this recipe, and they do an impressive job of mimicking that same crispy texture people expect from classic chicken parmesan. Crushing them finely, either with a mallet or in a blender, ensures they coat the chicken evenly rather than leaving large uneven chunks. Combined with parmesan cheese and Italian seasoning, the pork rinds create a flavorful, crunchy crust that browns nicely once the chicken hits the hot oil in the pan.
Coating the Chicken Step by Step
Once your breading station is set up, coating the chicken follows a simple three step process that should be repeated for each piece. Each chicken breast gets dredged first in the plain protein powder, then dipped into the beaten egg, and finally rolled in the pork rind and parmesan mixture until fully coated on all sides. Taking the time to press the coating gently onto each piece helps it stick better during cooking, resulting in a more even, crispy crust once everything is browned in the pan.
Searing the Chicken to Build a Crispy Crust
With the chicken fully breaded, heating avocado oil or light olive oil in a large oven-safe saute pan over medium-high heat is the next step toward building that crispy exterior. Once the oil becomes shimmery and hot, the chicken breasts go into the pan in a single layer, even if they end up slightly crowded and touching one another. Cooking for about two minutes per side, just until browned, creates the foundation of that crispy crust before the chicken finishes cooking through in the oven.
Adding Marinara and Cheese Directly in the Pan
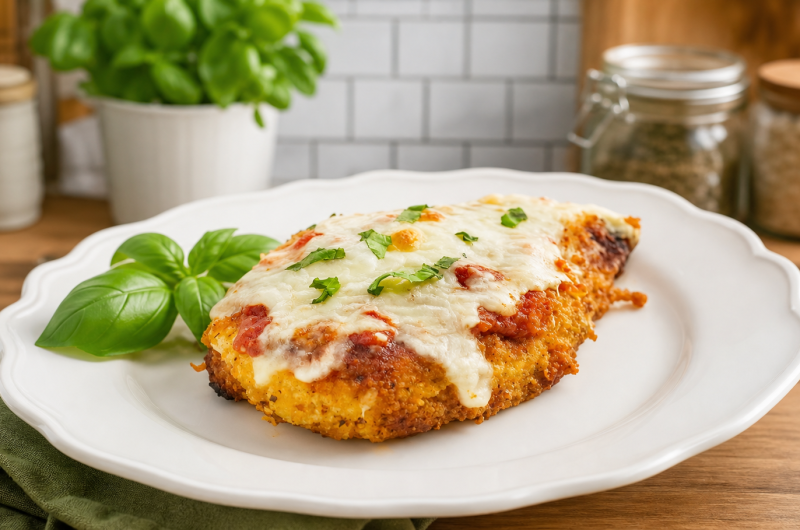
Once both sides of the chicken have browned nicely, the pan gets removed from the heat immediately to prevent overcooking. Right in the same pan, each chicken breast gets topped with marinara sauce followed by shredded mozzarella cheese, allowing the flavors to layer directly on top of that crispy breading. Because everything happens in the same pan, there is no need to transfer the chicken elsewhere, which helps keep the crispy coating intact during this final assembly step.
Finishing the Dish in the Oven
Transferring the same oven-safe pan directly into a preheated four hundred fifty degree oven allows the chicken to finish cooking through while the cheese melts and develops golden spots on top. Baking for about ten minutes is usually enough time to fully cook the chicken while achieving that beautifully melted, slightly golden cheese topping everyone looks forward to in a good chicken parmesan. Keeping an eye on the dish toward the end helps prevent the cheese from over-browning before the chicken is fully cooked through.
Why This Recipe Feels Familiar Despite Being Low Carb
Even though this recipe swaps out several traditional ingredients, the final dish still delivers that same comforting, cheesy, crispy experience associated with classic chicken parmesan. The combination of crispy breading, tangy marinara, and melted mozzarella creates a familiar flavor profile that does not feel like a compromise, which is part of why this version has become such a popular choice among those following a low carb or ketogenic lifestyle without wanting to give up favorite comfort foods entirely.
Notes on Serving This Dish
Understanding the Serving Size
Each serving consists of one full chicken breast topped with marinara sauce and melted mozzarella cheese. Since this is a fairly generous portion, many people find that half a chicken breast paired with a side dish is plenty for a satisfying meal, making this recipe flexible depending on your appetite and what else you plan to serve alongside it.
Adding Fresh Basil for Extra Flavor
Garnishing the finished chicken with fresh basil right before serving adds a burst of fresh flavor and a touch of color that pairs nicely with the marinara and melted cheese, though this step is entirely optional depending on what you have on hand.
Notes on Getting the Best Results
Do Not Skip the Brining Step
Taking the extra ten to twenty minutes to brine the chicken in salted water genuinely improves the final texture, helping the chicken stay juicy rather than turning dry once it goes through both stovetop searing and oven baking.
Crush the Pork Rinds Finely
Making sure the pork rinds are crushed into small, even pieces rather than large chunks helps create a more consistent, evenly crispy coating across each piece of chicken.
Watch the Chicken Closely During Searing
Since the searing step only takes about two minutes per side, staying close to the pan and watching carefully helps prevent the crispy coating from burning before the chicken goes into the oven to finish cooking.
Keep an Eye on the Oven Time
Because oven temperatures can vary slightly, checking the chicken a minute or two before the suggested baking time helps ensure the cheese reaches that perfect golden spot stage without overcooking the chicken underneath.
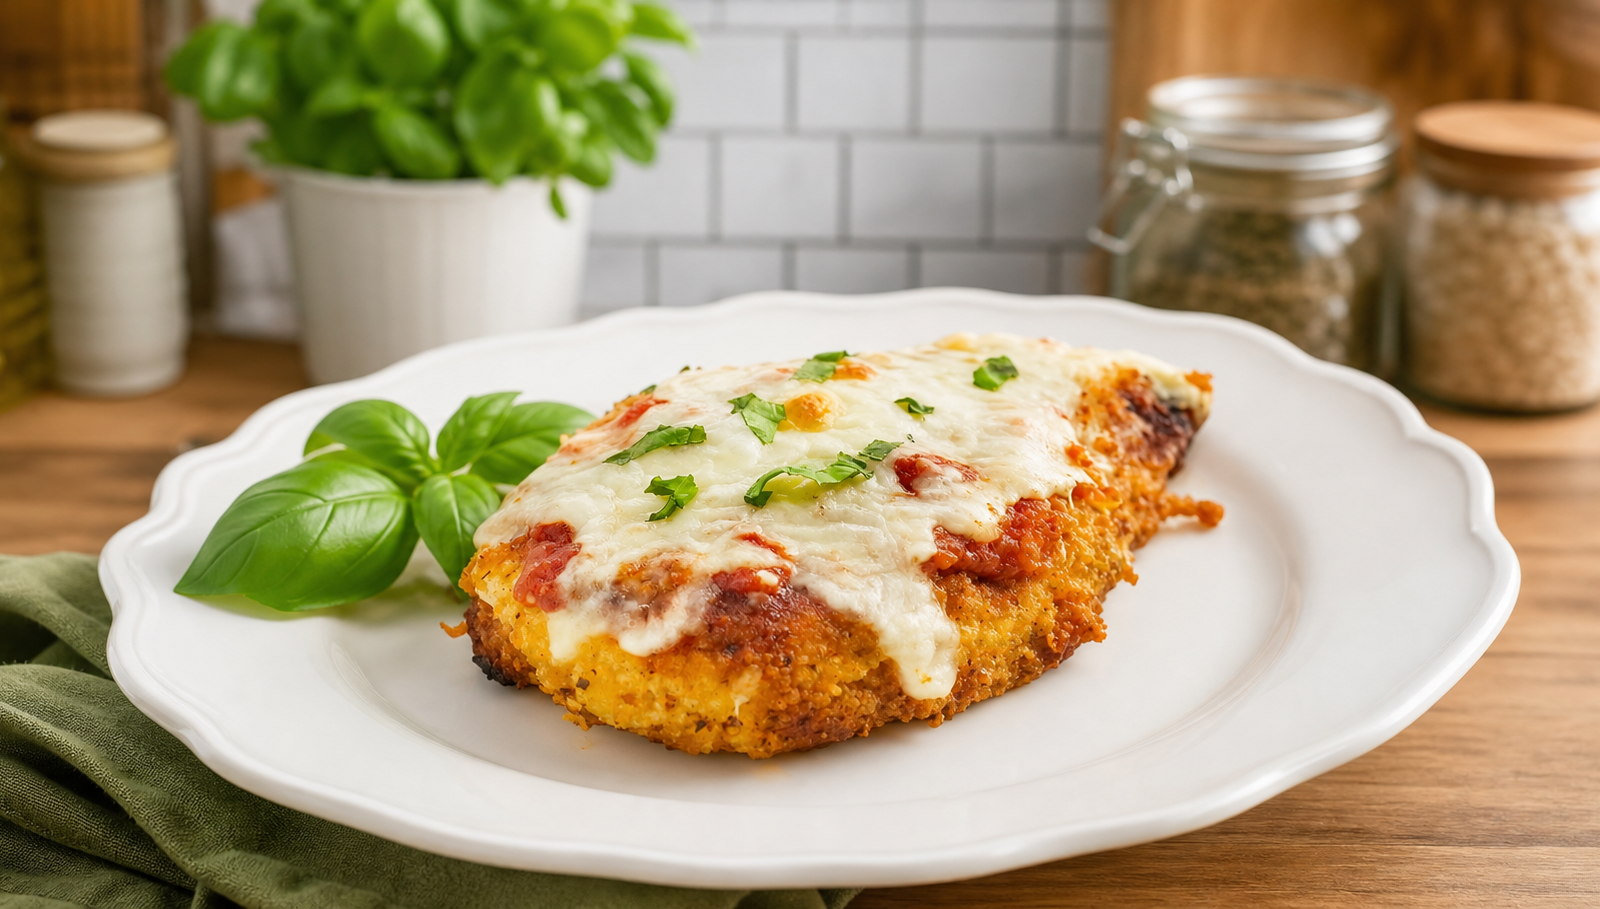
Delicious Keto Chicken Parmesan
A crispy, cheesy chicken parmesan made low carb with a pork rind and parmesan breading instead of traditional breadcrumbs. Cooked in one pan from stovetop to oven for an easy, satisfying dinner.
20
minutes15
minutes621
kcal35
minutesIngredients
4 medium chicken breasts
Sea salt, for brining
½ cup whey protein powder, divided
2 large eggs
3 oz pork rinds, crushed
¼ cup grated parmesan cheese
2 teaspoons Italian seasoning
¼ cup avocado oil (or light olive oil, for frying)
¾ cup shredded mozzarella cheese
¾ cup marinara sauce
Directions
- Fill a large bowl with warm water and 1 to 2 tablespoons of sea salt. Add the chicken breasts and let them brine for 10 to 20 minutes, up to an hour.
- Preheat your oven to 450°F.
- In one bowl, add ¼ cup protein powder. In a second bowl, beat the eggs. In a third bowl, mix the crushed pork rinds, parmesan cheese, Italian seasoning, and remaining ¼ cup protein powder.
- Pat the chicken dry and pound it to an even thickness of about ½ inch using a meat mallet.
- Dredge each chicken breast in the protein powder, dip in the egg, then coat in the pork rind mixture. Repeat with all pieces.
- Heat the oil in a large oven-safe saute pan over medium-high heat. Add the chicken in a single layer and cook for about 2 minutes per side, until browned. Remove the pan from heat.
- Top each chicken breast with 3 tablespoons of marinara sauce and 3 tablespoons of shredded mozzarella cheese, right in the pan.
- Place the pan in the preheated oven and bake for about 10 minutes, until the cheese is golden in spots and the chicken is fully cooked through. Garnish with fresh basil if desired.
Nutrition Facts
- Carbohydrates: 6g
- Fiber: 1g
- Sugar: 3g