Capture the cozy flavors of fall with this delectable Caramel Apple Jam. This recipe combines the natural sweetness of apples with the rich, buttery notes of caramel, creating a luxurious spread perfect for toast, pancakes, desserts, and more. Whether you’re a seasoned jam maker or a beginner, this step-by-step guide will lead you through crafting this comforting treat.
This recipe is designed to be easy to follow, even for those new to jam making. The blend of warm spices like cinnamon, nutmeg, and cloves complements the apple’s natural sweetness, while the caramel sauce adds a touch of indulgence. Enjoy this homemade jam for breakfast, as a snack, or as a special treat – it’s sure to become a kitchen favorite.
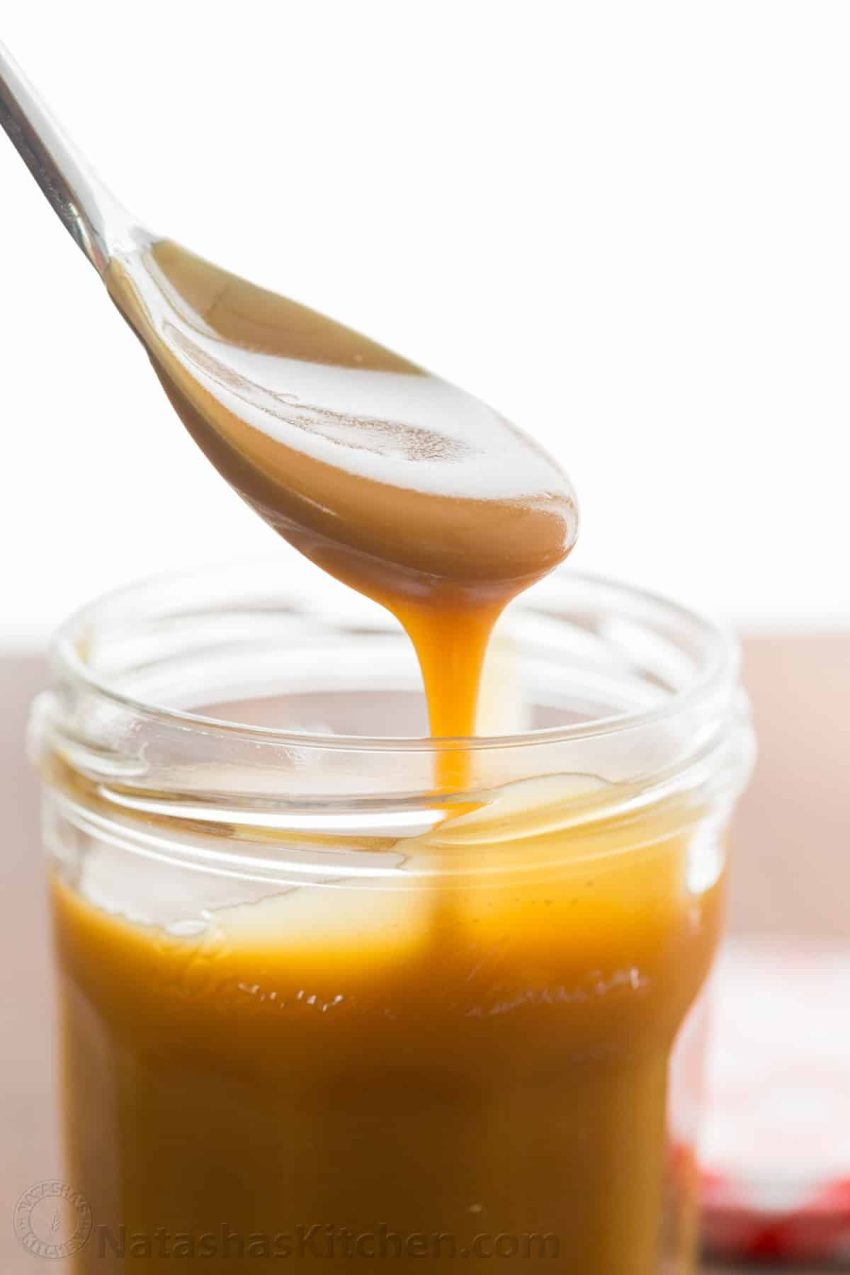
Let’s embark on the journey of creating this homemade Caramel Apple Jam, which can be stored in the refrigerator for up to two weeks.
Ingredients: The Heart of the Jam
Before starting, gather all your ingredients. Fresh apples are the star, and a mix of tart and sweet varieties will create a balanced flavor profile. You’ll also need pantry staples like granulated and brown sugar for sweetness and depth, warm spices (cinnamon, nutmeg, and cloves) to complement the apples, and vanilla extract and caramel sauce for that extra touch of magic.
- 4 cups chopped apples (about 4-5 medium-sized apples)
- 1 cup granulated sugar
- 1/2 cup brown sugar
- 1/4 cup water
- 1 tsp lemon juice
- 1/2 tsp ground cinnamon
- 1/4 tsp ground nutmeg
- 1/4 tsp ground cloves
- 1/4 tsp salt
- 1/2 tsp vanilla extract
- 1/2 cup caramel sauce
Step-by-Step Guide to Caramel Apple Jam Perfection
1. Preparing the Apples: The Foundation of Flavor
Begin by washing, peeling, and coring the apples. A blend of sweet and tart apples is ideal for a complex flavor. Chop the apples into small, bite-sized pieces. Smaller pieces cook faster and break down more readily into a jam-like consistency. Set the chopped apples aside.
2. Cooking the Jam: Bringing it All Together
In a large pot or saucepan, combine the chopped apples, granulated sugar, brown sugar, water, lemon juice, ground cinnamon, nutmeg, cloves, and salt. Stir well to combine all ingredients. Bring the mixture to a boil over medium-high heat, stirring occasionally to prevent burning. Once boiling, reduce the heat to low and simmer for 30-40 minutes. The apples will soften and the mixture will thicken. Stir occasionally to prevent sticking.
As the apples cook, they’ll break down, releasing their juices and creating a chunky applesauce-like texture. This step allows the flavors to meld. Be patient, as the cooking time may vary depending on your stovetop. The goal is a thick, spoonable consistency.
3. Enhancing the Flavor: The Caramel Touch
Once the apples are soft and the mixture has thickened, it’s time to add the flavor enhancers. Stir in the vanilla extract and caramel sauce. These ingredients elevate the jam, adding a sweet, buttery richness and a deep, caramelized flavor. Continue stirring to incorporate the caramel evenly.
Let the jam cook for another 5-10 minutes, allowing the vanilla and caramel to fully infuse. The jam will thicken further. Aim for a spreadable consistency, not too runny.
4. Cooling and Storing: Preserving the Goodness
When the texture and flavor are to your liking, remove the pot from the heat. Let the jam cool slightly before transferring it to jars. Use clean, sterilized jars for storage. Sterilize jars by boiling them in water or running them through a dishwasher cycle.
Pour the warm jam into the sterilized jars, leaving a small headspace at the top. Seal the jars tightly and let them cool to room temperature. Store the cooled jam in the refrigerator for up to two weeks. For longer storage, process the jars in a hot water bath for 10 minutes.
Tips for Jam-Making Success
- Apple Selection: Choose a mix of tart and sweet apples, such as Granny Smith, Honeycrisp, or Braeburn.
- Thickening: If the jam is too runny, simmer it longer. The sugar and fruit will thicken naturally.
- Caramel Sauce: Homemade caramel sauce adds a richer flavor. Adjust the amount to your preference.
- Canning: For long-term storage, use a water bath canner to ensure a proper seal.
Homemade Caramel Apple Jam
3
servings15
minutes40
minutes250
kcalA sweet and spiced homemade jam with a rich caramel flavor—perfect for toast, pastries, or dessert toppings!
Ingredients
4 cups 4 chopped apples (about 4-5 medium apples, peeled & cored)
1 cup 1 granulated sugar
½ cup brown sugar
¼ cup water
1 tsp 1 lemon juice
½ tsp ground cinnamon
¼ tsp ground nutmeg
¼ tsp ground cloves
¼ tsp salt
½ tsp vanilla extract
½ cup caramel sauce
Directions
- Prepare the Apples: Peel, core, and chop apples into small pieces.
- Cook the Jam: In a large pot, combine apples, both sugars, water, lemon juice, cinnamon, nutmeg, cloves, and salt.
- Bring to a boil over medium-high heat, stirring occasionally.
- Reduce heat and simmer for 30-40 minutes, stirring until apples soften and the mixture thickens.
- Add Flavorings: Stir in vanilla extract and caramel sauce. Cook for an additional 5-10 minutes to enhance the flavor.
- Cool & Store: Remove from heat and let cool. Transfer to sterilized jars, seal, and refrigerate for up to 2 weeks.
- Canning Instructions (Optional)
- If you want to store the jam longer, use a water bath canning method:
- Sterilize jars by boiling them for 10 minutes.
- Fill jars with hot jam, leaving ¼-inch headspace.
- Seal tightly and process in a boiling water bath for 15-20 minutes.
- Let jars cool for 24 hours before storing.