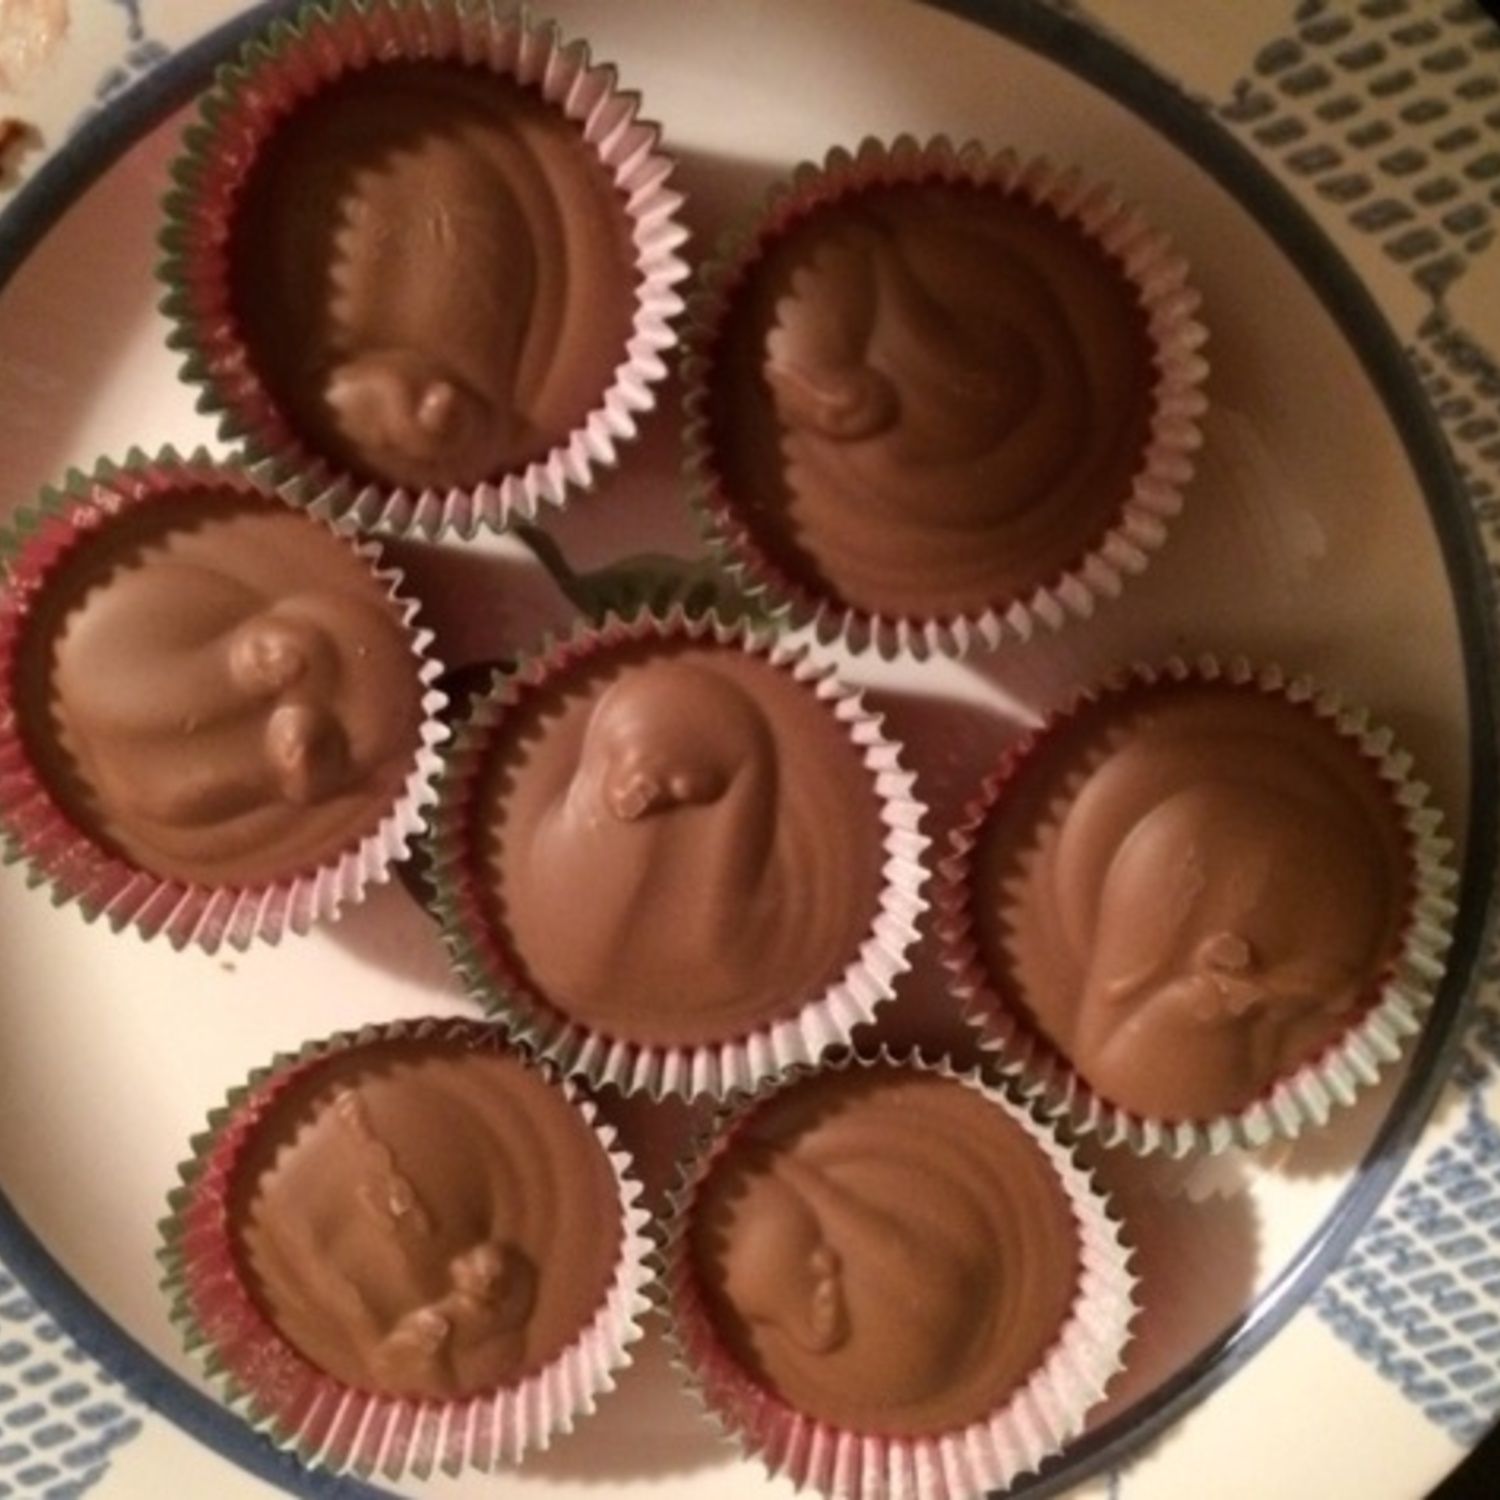
These Chocolate Peanut Butter Meltaways are the perfect blend of rich chocolate and creamy peanut butter, ideal for holiday gifts or a simple sweet treat. 1 Ready in minutes, these melt-in-your-mouth candies require minimal effort thanks to the microwave
Why This Recipe Is a Winner
- Fast and Simple: Just four ingredients and under 30 minutes are all you need.
- Delicious Combination: The classic chocolate and peanut butter pairing delivers maximum flavor.
- Gift-Worthy: These treats look impressive and are easy to package for presents.
- Crowd-Pleasing: Everyone loves these creamy, melt-away candies.
Ingredients
This recipe uses only four ingredients:
- Chocolate Chips: A mix of bittersweet and white chocolate chips (or semi-sweet, milk chocolate) creates a beautiful contrast.
- Peanut Butter: Creamy peanut butter is essential for the smooth texture.
- Coconut Oil: Refined coconut oil (or shortening) helps the meltaways set.
Making Chocolate Peanut Butter Meltaways: Step by Step
- Combine Ingredients: Add the chocolate chips, peanut butter, and coconut oil to a 4-cup glass measuring cup (or microwave-safe bowl).
- Melt in Microwave: Microwave at 50% power in 30-second intervals, stirring after each, until melted (about 2 ½ minutes).
- Prepare for Piping: Transfer the melted mixture to a piping bag.
- Fill Liners: Place paper liners in a mini-muffin pan. Snip the tip of the piping bag and carefully pipe the mixture into each cup. The mixture will be quite liquid.
- Decorate and Set: Top each meltaway with a holiday icing decoration (or sprinkles, chopped peanuts). Refrigerate until hardened.
These Chocolate Peanut Butter Meltaways are incredibly rich, creamy, and perfectly balanced.
Frequently Asked Questions
- Chocolate Choice: Any good quality chocolate can be used. A mix of white and dark chocolate is recommended, but semi-sweet or milk chocolate are also delicious options.
- Natural Peanut Butter: Natural peanut butter can be used, but the candy may not be as firm.
- Nut Butter Substitutes: Almond butter, cashew butter, or Nutella can be used instead of peanut butter.
- Storage: Store meltaways in an airtight container in the refrigerator for up to two weeks, or in the freezer for up to two months.
Tips for Success
- Large Measuring Cup: A large glass measuring cup (4-cup) with a spout is ideal for melting and pouring the mixture.
- Filling Techniques: Use a piping bag, Ziploc bag, spoon, or pour directly from the measuring cup to fill the mini-muffin liners.
- Secure Piping Bag: If using a piping bag, secure the open end with a rubber band before snipping the tip to prevent leakage.
- Decoration Ideas: Decorate with store-bought royal icing decorations, sprinkles, or chopped nuts.
Nutrition Facts
24 servings per container
- Amount Per ServingCalories245
- % Daily Value *
- Total Fat
7g
9%
- Sodium 30mg 2%
- Protein 2g 4%
* The % Daily Value tells you how much a nutrient in a serving of food contributes to a daily diet. 2,000 calories a day is used for general nutrition advice.

