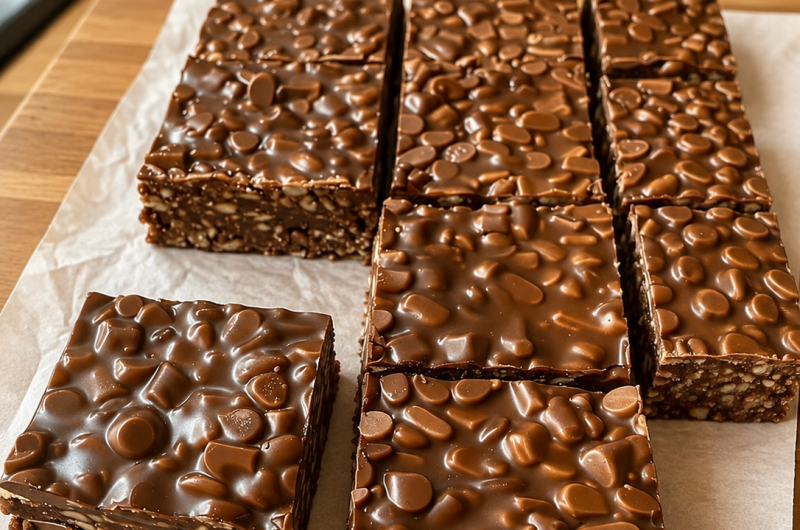
Healthy Chocolate Oat Bars are an easy homemade option when you want something chocolatey without making a complicated dessert. The recipe uses rolled oats, ripe bananas, unsweetened cocoa powder, applesauce, vanilla, baking powder, salt, and milk. There is no white flour, butter, oil, or refined sugar in the basic recipe.
The texture is soft and chewy rather than crisp. Ripe bananas and applesauce provide moisture, while the oats give the bars enough structure to hold together after baking. Unsweetened cocoa powder brings the chocolate flavor, so the finished bars have a naturally rich taste without needing chocolate syrup or refined sweeteners.
This is also a convenient recipe to keep in mind for breakfast, snack time, lunchboxes, or meal preparation. The mixture comes together in one bowl, and there is very little preparation before the pan goes into the oven.
Why This Recipe Works So Well
- One of the best things about these oat bars is how the ingredients work together. Nothing complicated is needed to create the texture.
- Rolled oats form the main base. They absorb the moisture from the bananas, applesauce, and milk while keeping their characteristic hearty texture. This gives the bars their soft but chewy bite.
- The bananas are important for more than sweetness. Very ripe bananas provide moisture and help bind the mixture together. As bananas ripen, their natural sweetness becomes stronger, which makes brown-speckled bananas particularly useful here.
- Applesauce adds another layer of moisture. Since the recipe uses unsweetened applesauce, it contributes a gentle fruit flavor without adding refined sugar. Together, the banana and applesauce help keep the bars tender without butter or oil.
- Then there is cocoa powder. Unsweetened cocoa gives the bars their deep chocolate flavor and dark color. Because it is unsweetened, the natural sweetness of the fruit remains noticeable instead of making the bars overly sugary.
Choosing the Right Bananas
- The bananas make a noticeable difference in the finished texture and flavor. For this recipe, very ripe bananas are the best choice.
- Look for bananas with brown spots on the peel. They are softer, easier to mash, and naturally sweeter than firm yellow bananas. A ripe banana also mixes more easily with the applesauce and milk, helping create a smooth wet mixture.
- If the bananas are still quite firm and pale inside, they may not provide the same sweetness or moisture. The recipe specifically recommends ripe, brown-speckled bananas for the best result.
Getting the Oat Texture Right
- Rolled oats give these bars their hearty, chewy texture. When measuring them, avoid pressing them tightly into the measuring cup. A packed cup can add more oats than intended and may make the mixture drier.
- Quick oats can also be used according to the source recipe. They produce a somewhat softer texture, so the finished bars may not have quite the same hearty bite as those made with rolled oats.
- If gluten-free preparation is important, certified gluten-free rolled oats can be selected. The other ingredients in the listed recipe remain unchanged.
Preparing the Chocolate Mixture
- The preparation starts with the bananas. Place the ripe bananas in a large mixing bowl and mash them with a fork or potato masher until mostly smooth. A few small pieces can remain, so there is no need to make the mixture perfectly pureed.
- Next, add the unsweetened applesauce, vanilla extract, and milk. Stir these ingredients together until they are evenly combined.
- The dry ingredients are added afterward: rolled oats, unsweetened cocoa powder, baking powder, and salt. Stir everything thoroughly so the cocoa powder is distributed throughout the mixture.
- At this stage, the batter should be thick. If the ingredients are not mixed properly, some areas may contain more cocoa or oats than others, so take a little extra time to scrape around the bottom and sides of the bowl.
Preparing the Baking Pan
- An 8-inch square baking pan is used for the recipe. Line it with parchment paper and leave a little overhang along the sides.
- The parchment makes it easier to remove the baked bars from the pan once they have cooled. It also makes cleanup simpler.
- Once the batter is ready, transfer it into the prepared pan. Use a rubber spatula to spread it evenly from corner to corner. Keeping the surface level helps the bars bake more evenly.
Baking the Oat Bars
- Preheat the oven to 350°F (175°C) before baking.
- Place the prepared pan in the oven and bake the mixture for 20 to 25 minutes. The center should feel set while the edges should be lightly firm.
- The recipe notes that the internal temperature can reach approximately 200°F (93°C) when properly baked. More importantly, avoid leaving the bars in the oven too long. Overbaking can remove too much moisture and leave the bars dry instead of soft and chewy.
- Every oven can behave slightly differently, so start checking toward the shorter end of the baking time.
Cooling Is Part of the Recipe
- Once the pan comes out of the oven, place it on a cooling rack and let the bars cool in the pan for around 15 minutes.
- This step should not be rushed. The bars become firmer as they cool, which makes them much easier to remove and slice. Cutting them while they are still very hot can result in pieces that do not hold their shape as neatly.
- After cooling, lift the slab from the pan using the parchment overhang and cut it into 12 equal bars.
Keeping the Bars Soft and Chewy
- The texture depends largely on moisture and baking time. The ripe bananas and applesauce help keep the bars tender, while the oats absorb that moisture as they bake.
- If the batter appears especially thick before baking, the source recipe suggests stirring in an extra tablespoon of milk. The goal is a thick but workable batter that can be spread evenly in the pan.
- The biggest mistake to avoid is overbaking. Even a simple oat bar can become dry when it stays in the oven too long.
Ways to Serve Them
- These bars are flexible enough to work at different times of the day. They can be served as a quick breakfast, an afternoon snack, a lunchbox treat, or a simple dessert.
- They can be enjoyed alongside coffee or tea, with Greek yogurt and fresh berries, or with a fruit smoothie. They can also be crumbled over oatmeal or yogurt for a different texture.
- For a chilled snack, place the cooled bars in the refrigerator before serving. Their texture becomes firmer when cold while still remaining soft enough to enjoy.
Optional Flavor Ideas
- The basic recipe is complete on its own, but the source also gives several optional mix-in ideas. These include sugar-free chocolate chips, chopped walnuts, chia seeds, ground flaxseed, unsweetened shredded coconut, pumpkin seeds, sunflower seeds, hemp hearts, pecans, cinnamon, and espresso powder.
- For example, sugar-free chocolate chips can make the bars more chocolate-forward, while chopped walnuts add crunch. Cinnamon gives the chocolate flavor a warmer character, and espresso powder can make the cocoa taste deeper.
- These are optional additions rather than part of the basic ingredient list.
Simple Storage
- Once the bars have cooled completely, store them in an airtight container.
- For refrigerator storage, they can be kept for up to one week. If stacking the bars, place parchment paper between the layers to help prevent sticking.
- They can also be frozen. Wrap individual bars before placing them in a freezer-safe container and store them for up to three months. When ready to eat, thaw them overnight in the refrigerator or allow them to come to room temperature.
- This makes the recipe especially convenient for meal preparation. A batch can be baked ahead, divided into portions, and kept ready for breakfasts and snacks during the week.
Why They Are Useful for Meal Prep
- These bars are easy to portion and transport, which makes them practical for busy days. They can be packed into lunchboxes, taken to work, or kept for a quick snack.
- Since the recipe produces 12 bars, it is easy to divide the batch into individual portions after cooling. The bars can then be stored in the refrigerator or freezer depending on how soon they will be eaten.
Common Problems and Easy Fixes
- Bars Turn Out Crumbly
- If the bars fall apart easily, the source suggests several possible reasons. The bananas may have been too small, the mixture may have been too dry, or the bars may have been cut before they had cooled properly.
- Allowing them to cool fully is particularly important because the texture firms as the bars rest.
- Bars Are Too Dry
- Overbaking is one of the main things to watch. The center should be set but still soft. Keeping a close eye on the baking time helps preserve the moist texture.
- Chocolate Flavor Is Uneven
- Make sure the cocoa powder is thoroughly mixed into the batter. This prevents pockets of cocoa from remaining in the mixture and gives every bar a more even chocolate flavor.
A Practical Homemade Snack
- These Healthy Chocolate Oat Bars keep the preparation straightforward. The ingredients are familiar, the method uses one bowl, and the bars can be prepared ahead for several days of snacks.
- The combination of oats, ripe bananas, cocoa powder, applesauce, vanilla, baking powder, salt, and milk creates a soft, chocolatey baked treat without needing white flour, butter, oil, or refined sugar. The result is simple enough for everyday baking while still satisfying a chocolate craving.
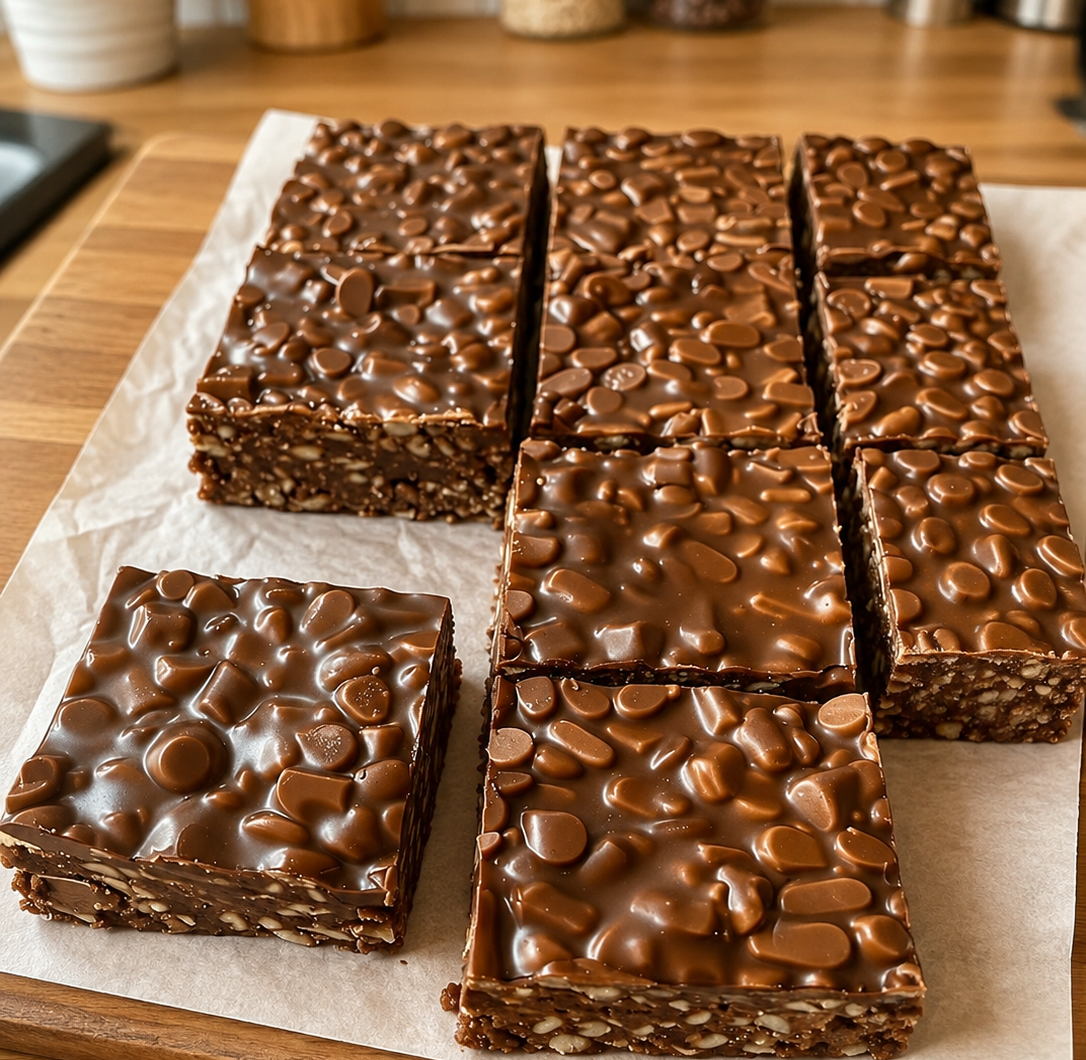
Healthy Chocolate Oat Bars
Soft and chewy chocolate oat bars made with rolled oats, ripe bananas, unsweetened cocoa powder, applesauce, vanilla, and milk. They are naturally sweetened and easy to prepare in one bowl.
12
servings10
minutes40
minutes300
kcal50
minutesIngredients
2 cups (180 g) rolled oats
2 large ripe bananas, mashed until smooth
¼ cup (25 g) unsweetened cocoa powder
½ cup (120 ml) unsweetened applesauce
1 teaspoon pure vanilla extract
1 teaspoon baking powder
¼ teaspoon salt
¼ cup (60 ml) milk of your choice
Directions
- Prepare the oven: Heat the oven to 350°F (175°C). Line an 8-inch square baking pan with parchment paper.
- Mash the bananas: Place the ripe bananas in a large bowl and mash until mostly smooth.
- Combine wet ingredients: Stir in the unsweetened applesauce, vanilla extract, and milk until well combined.
- Add dry ingredients: Add the rolled oats, cocoa powder, baking powder, and salt. Mix until a thick, evenly combined batter forms.
- Fill the pan: Transfer the mixture to the prepared pan and spread it evenly with a spatula.
- Bake: Bake for 20–25 minutes, until the center is set and the edges are lightly firm.
- Cool: Remove from the oven and let the bars cool in the pan for about 15 minutes.
- Slice: Lift the cooled slab from the pan and cut into 12 equal bars.
Notes
- Use very ripe, brown-speckled bananas for better natural sweetness.
- Do not overbake, as this can make the bars dry.
- Let the bars cool before slicing so they firm up properly.
- For gluten-free preparation, use certified gluten-free oats.
- Store in an airtight container in the refrigerator for up to 1 week.
- Individually wrap and freeze for up to 3 months.
Nutrition Facts
- Calories: 75kcal
- Fat: 0.8g
- Sodium: 55mg
- Carbohydrates: 16g
- Fiber: 3g
- Protein: 2g