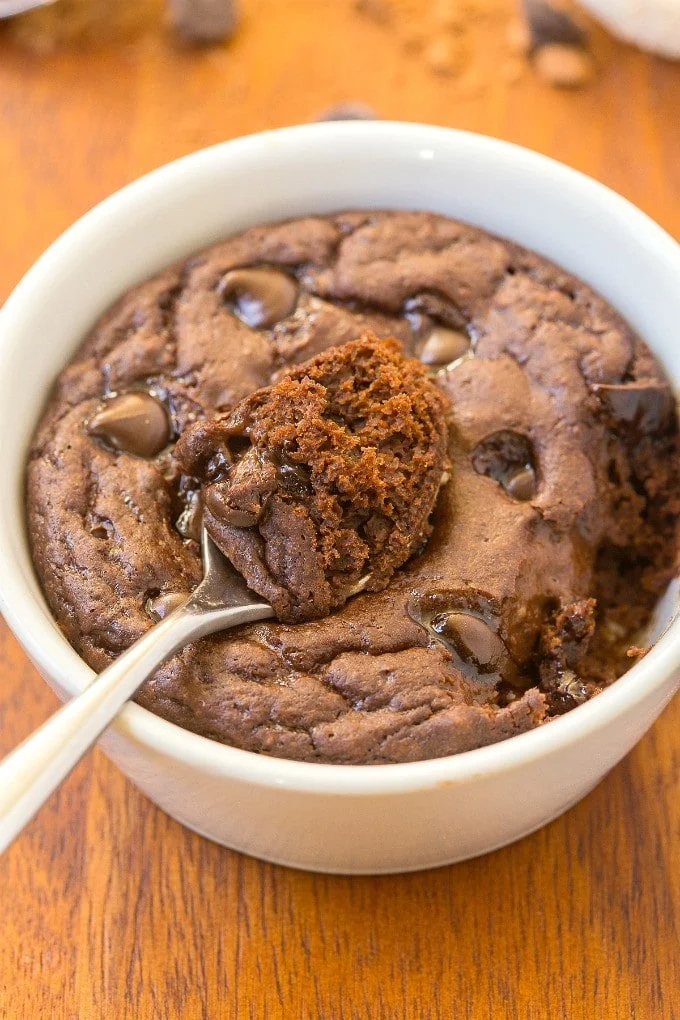
This protein mug cake recipe delivers the rich, gooey satisfaction of a brownie without the guilt. Ready in just one minute, it boasts over 30 grams of protein, making it the perfect post-workout treat or late-night indulgence. If you’re a fan of high-protein desserts, you’ll also want to check out my other recipes for protein brownies, protein cookies, and protein donuts.
Why This Recipe Rocks
- Single Serving: Perfect for satisfying cravings without making a whole batch of dessert.
- Protein Packed: Over 30 grams of protein thanks to the combination of protein powder and egg whites.
- Brownie Heaven: Moist, gooey, and bursting with fudgy chocolate flavor. Adjust the cooking time for extra gooeyness.
- Microwave or Oven: Quick and easy in the microwave, or bake it in the oven for a slightly different texture.
- Post-Workout Perfection: A balanced combination of fiber, protein, carbs, and healthy fats.
Key Ingredients: The Building Blocks of Deliciousness
- Protein Powder: The star of the show! See my recommendations below for the best types to use.
- Coconut Flour: Essential for a dessert-like texture. Do not omit! Oat flour and almond flour can be used as alternatives.
- Sweetener: Optional, but recommended for added sweetness, especially if your protein powder is unsweetened. Coconut sugar, white sugar, and maple syrup are all great choices.
- Baking Powder: Helps the batter rise and creates a light and airy texture.
- Cocoa Powder: Deepens the chocolate flavor. Dark cocoa powder is my favorite for an intense richness.
- Egg/Egg White: Adds protein and structure. Egg whites create a fluffier texture.
- Milk: Moistens the batter. I use whole milk or unsweetened almond milk, but any milk will work.
- Chocolate Chips: Optional, but highly recommended for extra chocolatey goodness.
Protein Powder 101: Choosing the Right One
I’ve experimented with numerous protein powder brands and types, and they can significantly affect the outcome of this recipe.
- Whey Protein: I do not recommend whey protein for this recipe. It tends to dry out when baked or microwaved.
- Casein Protein Powder: My go-to! Casein is naturally thicker and bakes beautifully. It also comes in a wide variety of flavors.
- Protein Blends: These blends often combine casein and whey or other protein types. They can work well in this recipe.
- Brown Rice Protein Powder: A vegan and gluten-free option that bakes well and has a pleasant taste.
- Pea Protein Powder: Another vegan-friendly choice that’s low in sugar and carbs.
Crafting Your Protein Mug Cake: A Step-by-Step Guide
- Mix the Batter: Grease a large, microwave-safe mug. Combine the dry ingredients and stir well. Add the egg white and milk, and mix until smooth. Fold in chocolate chips, if desired.
- Microwave: Microwave for 60 seconds to 2 minutes, depending on your microwave’s power.
- Rest: Let the mug cake sit for 20 seconds before carefully removing it from the mug and placing it on a plate.
Arman’s Expert Tips for Mug Cake Success
- Don’t Overcook: Mug cakes cook quickly, so watch them closely. Start with 1 minute and microwave in 20-second intervals until done.
- Microwave-Safe Mug: Use a large, microwave-safe mug to prevent overflow. A small cereal bowl can also work well.
- Mix Thoroughly: Ensure the batter is completely smooth to avoid clumps, especially from the protein powder.
- Top it Off: Get creative with toppings! Add a scoop of protein ice cream, yogurt, or pudding.
Variations: Unleash Your Creativity
- Vegan Version: Substitute the egg/egg white with an egg replacer like flax eggs.
- Mix-Ins: Add chopped nuts, berries, candy, peanut butter, or anything else you desire.
- Chocolate Lovers: Use chocolate protein powder for an even richer chocolate experience.
- Vanilla Delight: Use vanilla protein powder and omit the cocoa powder for a vanilla mug cake.
- Banana Boost: Add 1/2 small mashed banana for a banana-flavored treat.
Frequently Asked Questions: Your Burning Questions Answered
- Baking Instructions: Preheat oven to 350°F (180°C). Pour batter into an oven-safe ramekin and bake for 10-12 minutes.
- Microwaving Protein Powder: Yes, you can microwave protein powder. The protein content remains unchanged.
- Protein Powder Substitutes: For a protein-free mug cake, try a keto mug cake or flourless mug cake.
This protein mug cake recipe delivers the rich, gooey satisfaction of a brownie without the guilt. Ready in just one minute, it boasts over 30 grams of protein, making it the perfect post-workout treat or late-night indulgence. If you’re a fan of high-protein desserts, you’ll also want to check out my other recipes for protein brownies, protein cookies, and protein donuts.
Why This Recipe Rocks
- Single Serving: Perfect for satisfying cravings without making a whole batch of dessert.
- Protein Packed: Over 30 grams of protein thanks to the combination of protein powder and egg whites.
- Brownie Heaven: Moist, gooey, and bursting with fudgy chocolate flavor. Adjust the cooking time for extra gooeyness.
- Microwave or Oven: Quick and easy in the microwave, or bake it in the oven for a slightly different texture.
- Post-Workout Perfection: A balanced combination of fiber, protein, carbs, and healthy fats.
Key Ingredients: The Building Blocks of Deliciousness
- Protein Powder: The star of the show! See my recommendations below for the best types to use.
- Coconut Flour: Essential for a dessert-like texture. Do not omit! Oat flour and almond flour can be used as alternatives.
- Sweetener: Optional, but recommended for added sweetness, especially if your protein powder is unsweetened. Coconut sugar, white sugar, and maple syrup are all great choices.
- Baking Powder: Helps the batter rise and creates a light and airy texture.
- Cocoa Powder: Deepens the chocolate flavor. Dark cocoa powder is my favorite for an intense richness.
- Egg/Egg White: Adds protein and structure. Egg whites create a fluffier texture.
- Milk: Moistens the batter. I use whole milk or unsweetened almond milk, but any milk will work.
- Chocolate Chips: Optional, but highly recommended for extra chocolatey goodness.
Protein Powder 101: Choosing the Right One
I’ve experimented with numerous protein powder brands and types, and they can significantly affect the outcome of this recipe.
- Whey Protein: I do not recommend whey protein for this recipe. It tends to dry out when baked or microwaved.
- Casein Protein Powder: My go-to! Casein is naturally thicker and bakes beautifully. It also comes in a wide variety of flavors.
- Protein Blends: These blends often combine casein and whey or other protein types. They can work well in this recipe.
- Brown Rice Protein Powder: A vegan and gluten-free option that bakes well and has a pleasant taste.
- Pea Protein Powder: Another vegan-friendly choice that’s low in sugar and carbs.
Crafting Your Protein Mug Cake: A Step-by-Step Guide
- Mix the Batter: Grease a large, microwave-safe mug. Combine the dry ingredients and stir well. Add the egg white and milk, and mix until smooth. Fold in chocolate chips, if desired.
- Microwave: Microwave for 60 seconds to 2 minutes, depending on your microwave’s power.
- Rest: Let the mug cake sit for 20 seconds before carefully removing it from the mug and placing it on a plate.
Expert Tips for Mug Cake Success
- Don’t Overcook: Mug cakes cook quickly, so watch them closely. Start with 1 minute and microwave in 20-second intervals until done.
- Microwave-Safe Mug: Use a large, microwave-safe mug to prevent overflow. A small cereal bowl can also work well.
- Mix Thoroughly: Ensure the batter is completely smooth to avoid clumps, especially from the protein powder.
- Top it Off: Get creative with toppings! Add a scoop of protein ice cream, yogurt, or pudding.
Variations: Unleash Your Creativity
- Vegan Version: Substitute the egg/egg white with an egg replacer like flax eggs.
- Mix-Ins: Add chopped nuts, berries, candy, peanut butter, or anything else you desire.
- Chocolate Lovers: Use chocolate protein powder for an even richer chocolate experience.
- Vanilla Delight: Use vanilla protein powder and omit the cocoa powder for a vanilla mug cake.
- Banana Boost: Add 1/2 small mashed banana for a banana-flavored treat.
Frequently Asked Questions: Your Burning Questions Answered
- Baking Instructions: Preheat oven to 350°F (180°C). Pour batter into an oven-safe ramekin and bake for 10-12 minutes.
- Microwaving Protein Powder: Yes, you can microwave protein powder. The protein content remains unchanged.
- Protein Powder Substitutes: For a protein-free mug cake, try a keto mug cake or flourless mug cake.